
How to Build a Concrete Patio: A Guide by Expert Concrete Abilene
Ever wonder how to build a concrete patio? We'll walk you through all of the steps so you can do it yourself!

Introduction
Building a concrete patio can transform your backyard. You can make it into a space for relaxation and entertainment just by having a surface to put things on. Here's a simple guide on how to build a concrete patio. This guide is perfect for the DIY enthusiast or anyone looking to understand the process better. We'll show you how to lay the groundwork and then poor a durable and good-looking concrete patio. Whether you're a seasoned contractor or a homeowner in Abilene, TX, you'll find it useful.
Step 1: Planning Your Patio
Before you break ground, sketch your patio design. Take into account the shape, size, and location. Consider how the patio will complement your landscape and home's architecture. Think about the patio's purpose: Will it be a quiet place for morning coffee, or do you plan to host large gatherings? Measure the space and mark it out with stakes and string to visualize the area better. Remember, the size and orientation will affect the materials needed and the project's cost.

Step 2: Gathering Materials and Tools
You'll need:
- Concrete Mix: Calculate the volume needed by multiplying the area's length by width by depth (in feet). Then, convert to cubic yards.
- Reinforcement: Rebar (steel bars) or wire mesh to strengthen the patio.
- Form Boards: 2x4s or 2x6s, depending on the thickness of your patio.
- Gravel: For the base layer, to ensure drainage and stability.
- Tools: Shovel, tamper, wheelbarrow, wood stakes, saw, hammer, nails, float, trowel, level, and possibly a concrete mixer.
Step 3: Preparing the Site
Clear the site of any grass, stones, or roots. Dig to the desired depth. But, keep in mind that you should aim for a slope of about 1 inch for every 8 feet of length away from any structures for water drainage. Add a gravel base, typically 4 inches thick. Compact it using a tamper or plate compactor for a solid foundation.
Step 4: Building Forms
Cut your form boards to the required length. Then, arrange them to outline your patio's perimeter. Secure the boards with wooden stakes placed outside the form. Hammer the boards into the ground at least every 2 feet. Use a level to ensure the tops of the forms are even and at the desired height of your patio surface. Brace the stakes further with scrap wood if necessary. This prevents them from moving when the concrete is poured.
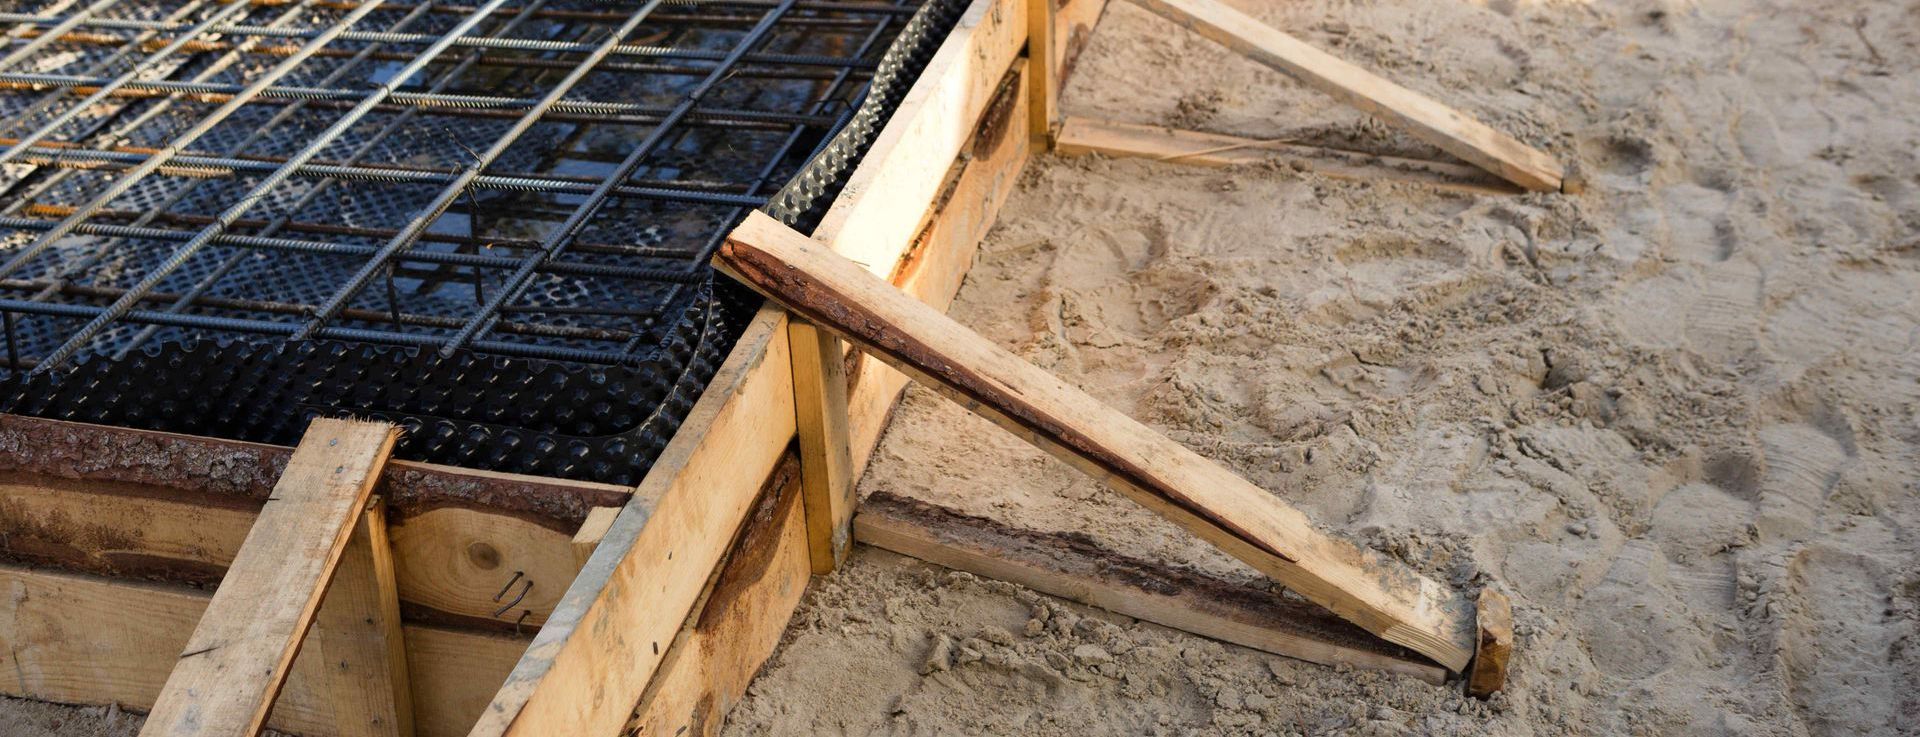
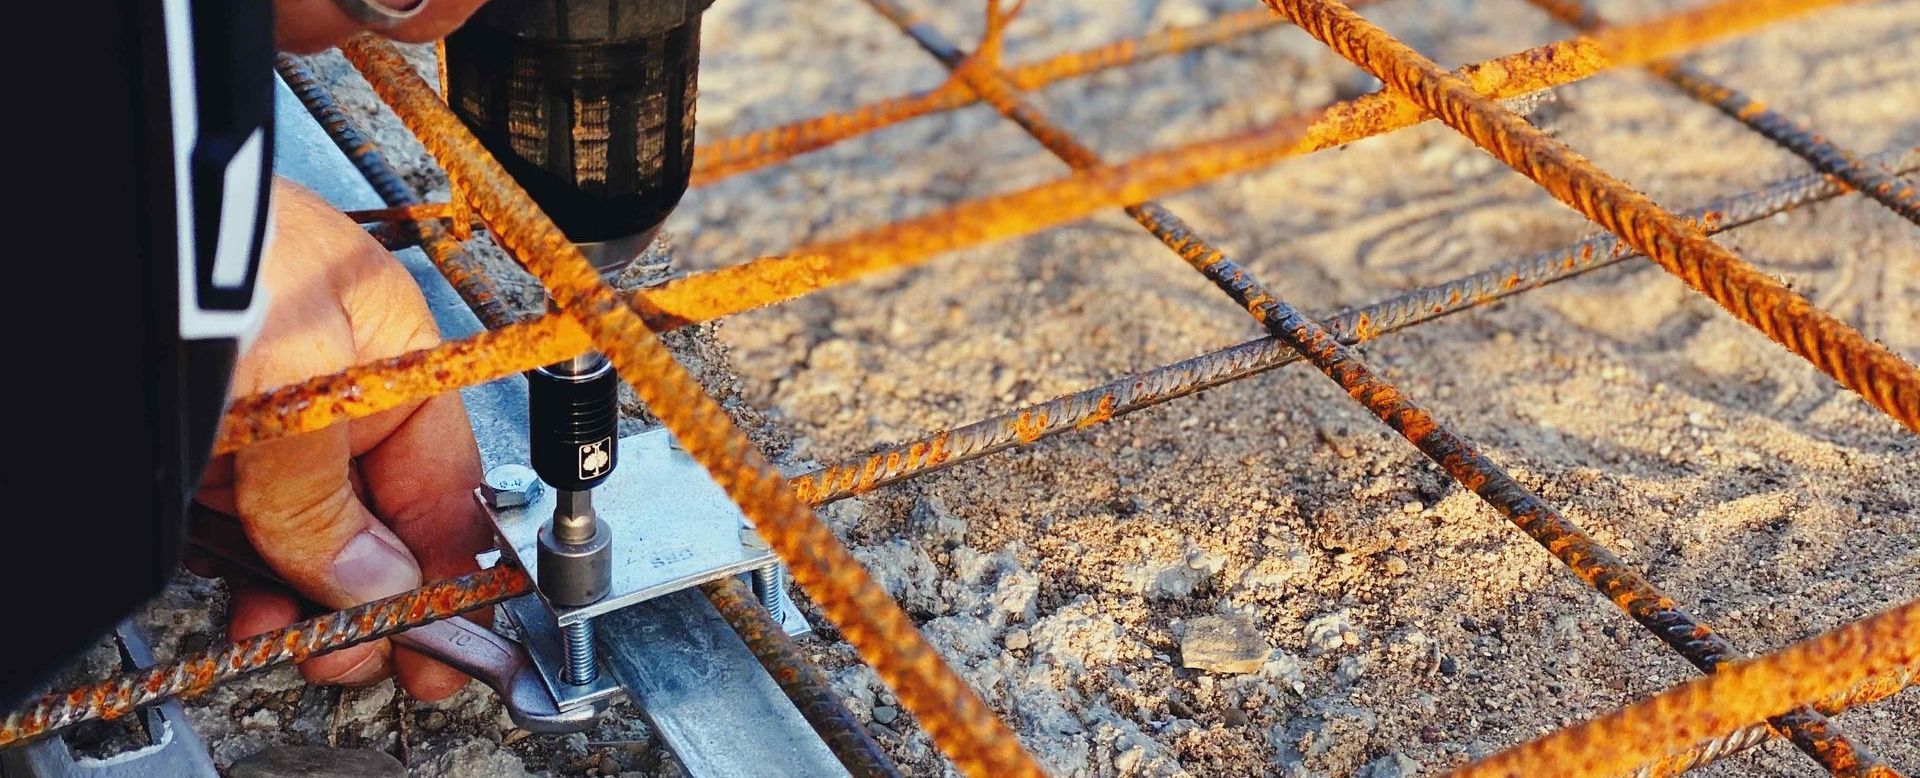
Step 5: Adding Reinforcement
Cut the rebar or wire mesh to fit inside the form. Leave a 2-inch clearance from all form edges to ensure the reinforcement is completely within the concrete. This prevents rusting. Use wire ties to bind intersections of rebar. For the mesh, ensure it is supported off the base gravel. You can use small concrete blocks or special wire supports.
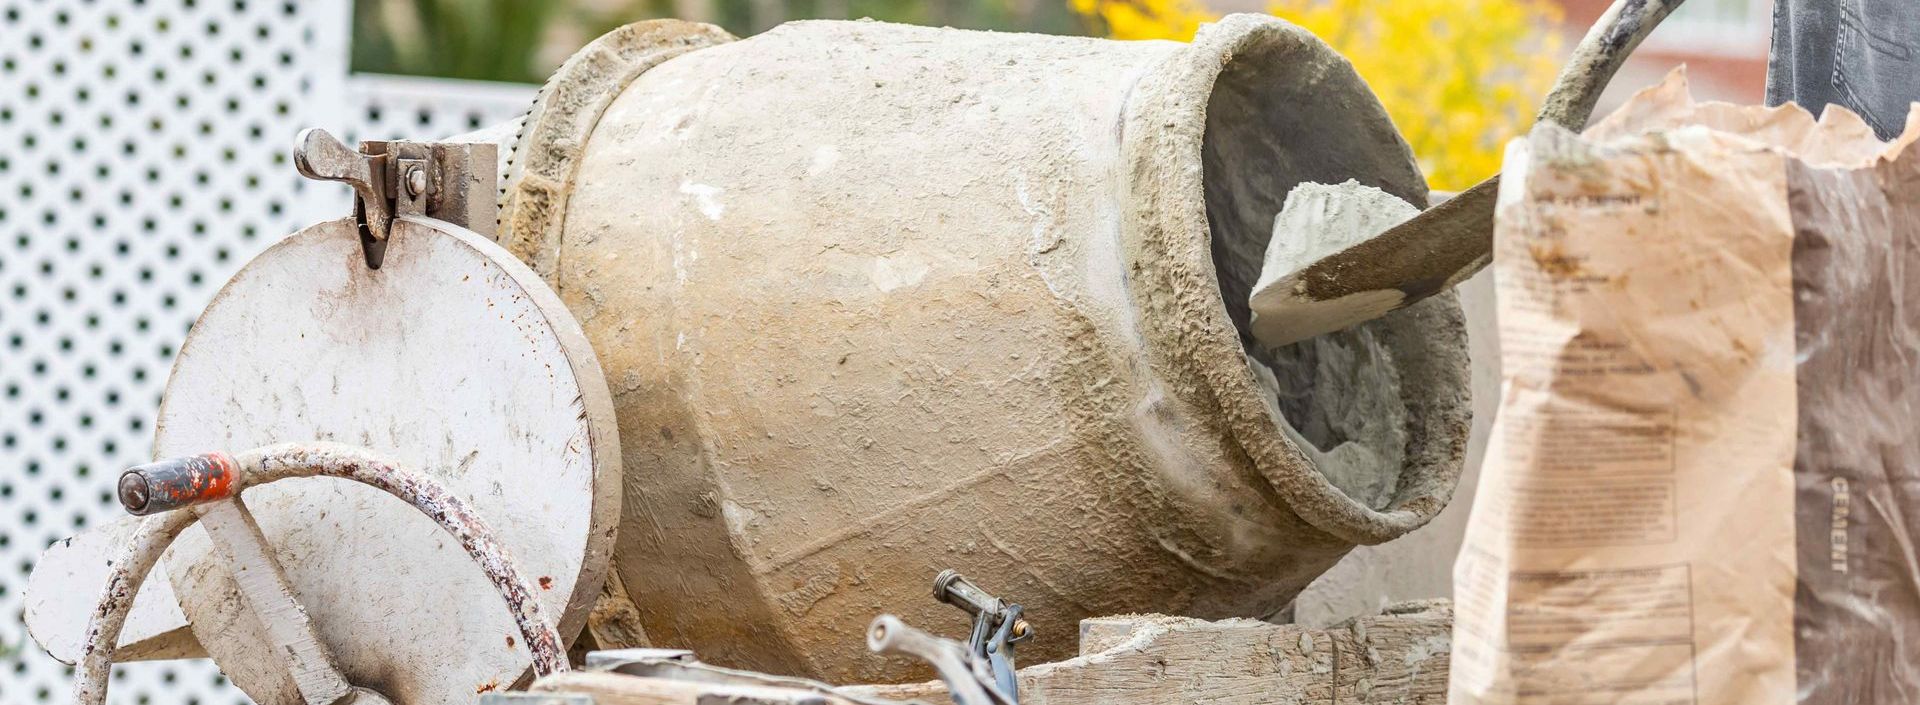
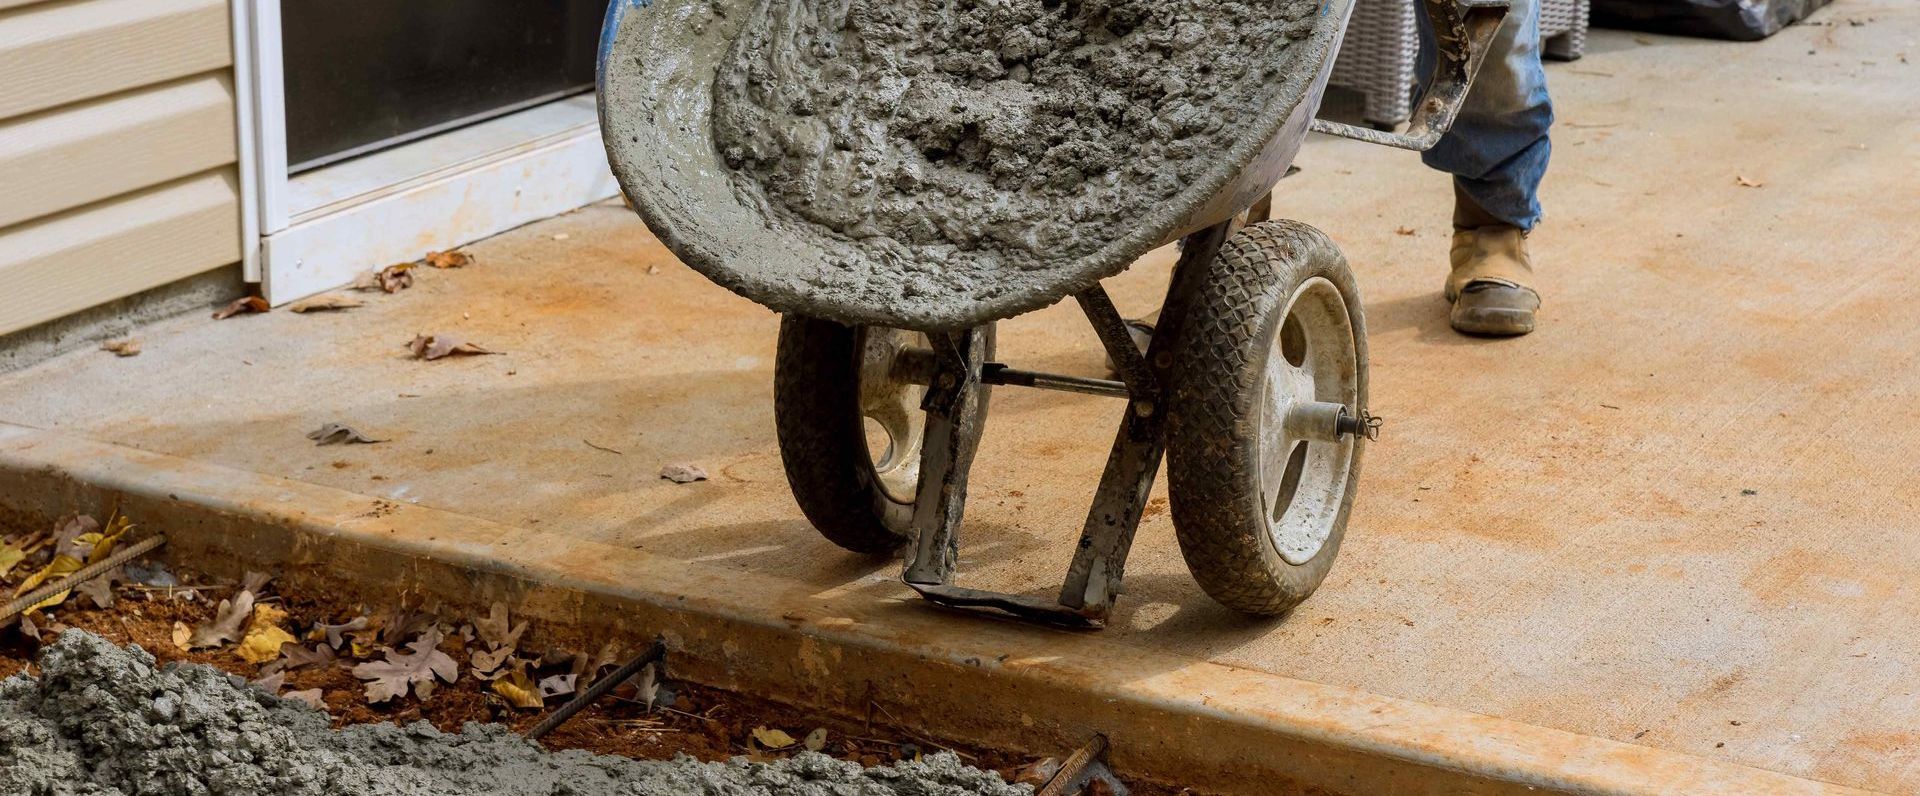
Step 6: Mixing and Pouring Concrete
If mixing your concrete, follow the manufacturer's instructions for water ratios. For large patios, consider having ready-mix concrete delivered. Pour the concrete into the forms in sections. Start at the far end and work your way back to avoid stepping into the mix. Use a rake or shovel to spread the concrete. Tap the sides of the forms to get rid of air pockets and ensure the mix fills all corners.
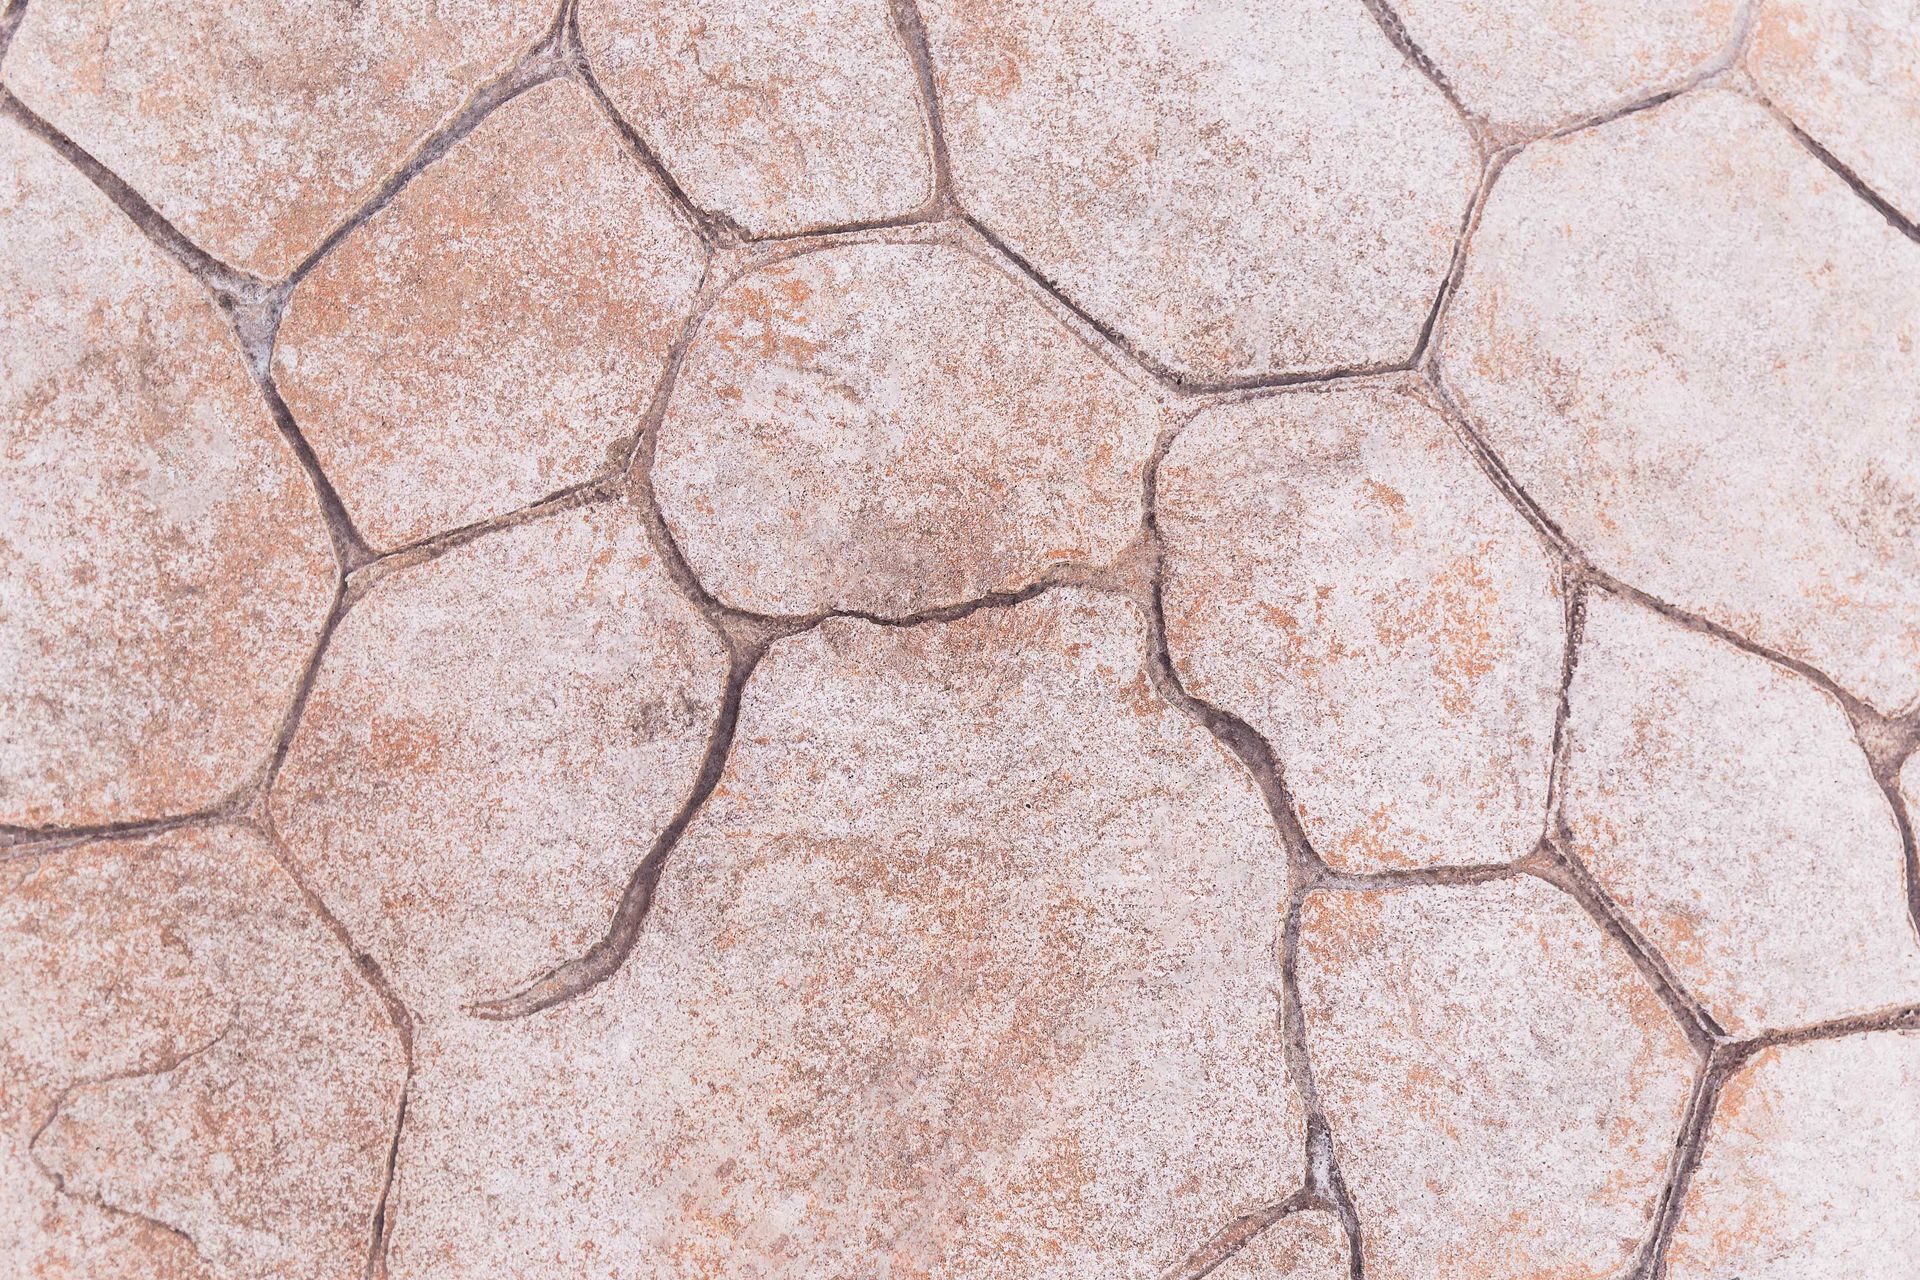
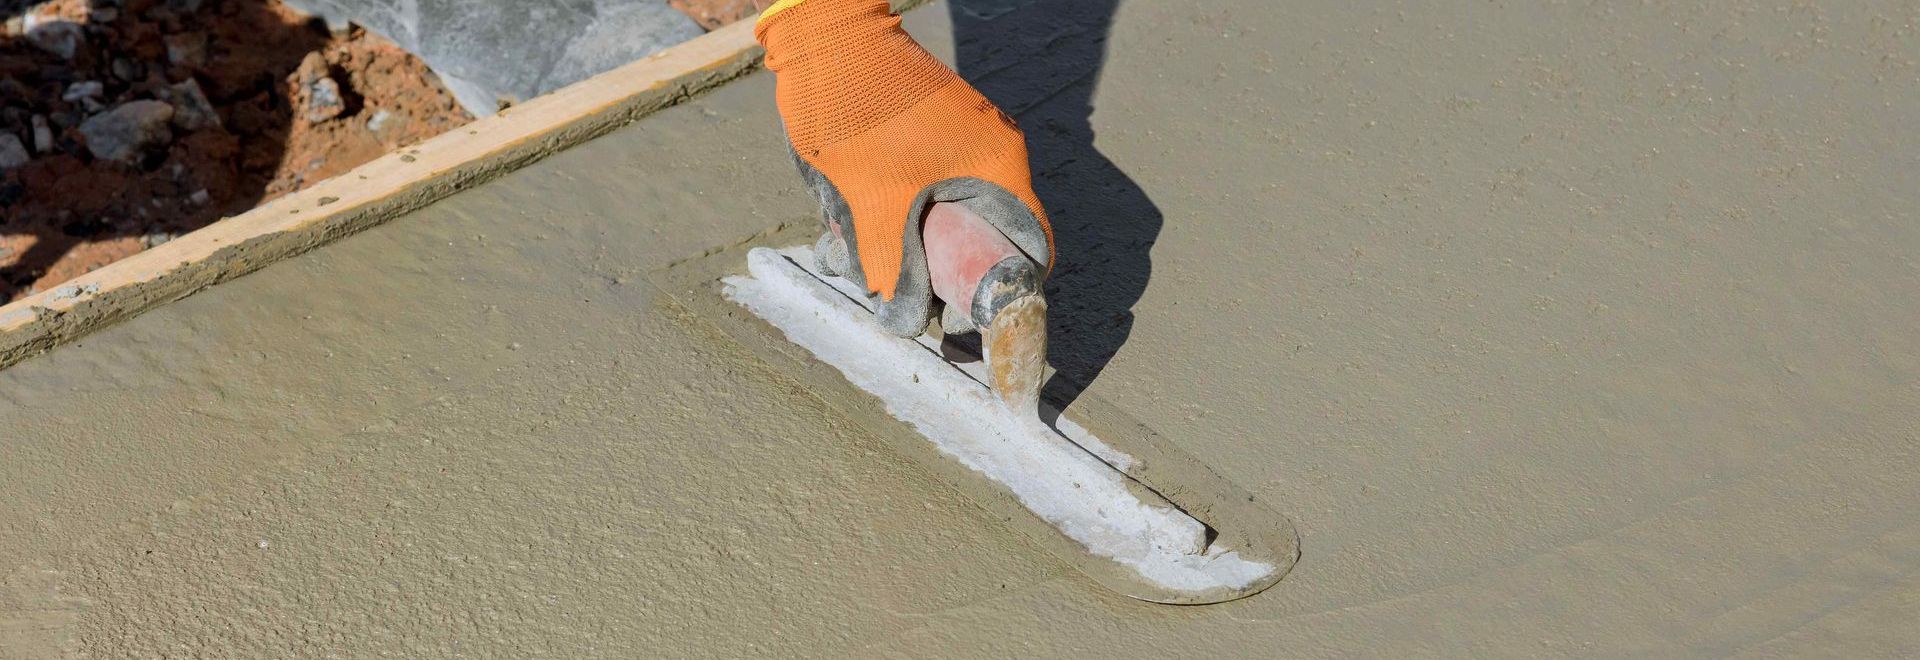
Step 7: Smoothing the Surface
After leveling the concrete with a straight edge, use a bull float to smooth the surface. Work back and forth to remove trowel marks and flatten the concrete. For a textured, slip-resistant surface, drag a broom across the wet concrete. The timing for texturing is crucial. Too wet, and the texture will be too light; too dry, and the broom will drag and mar the surface.
Step 8: Curing
Curing is critical for strength and durability. Begin the process by lightly spraying the patio with water. Then, cover it with plastic sheeting to retain moisture. Keep the patio covered and moist for at least 7 days. In hot, dry conditions, more frequent watering may be necessary.
Step 9: Removing Forms
After the concrete has cured, remove the forms by pulling out the stakes and prying away the wood. Be gentle to prevent chipping or cracking the edges of your new patio. If any rough edges are present, you can smooth them with a hand trowel or sanding block.

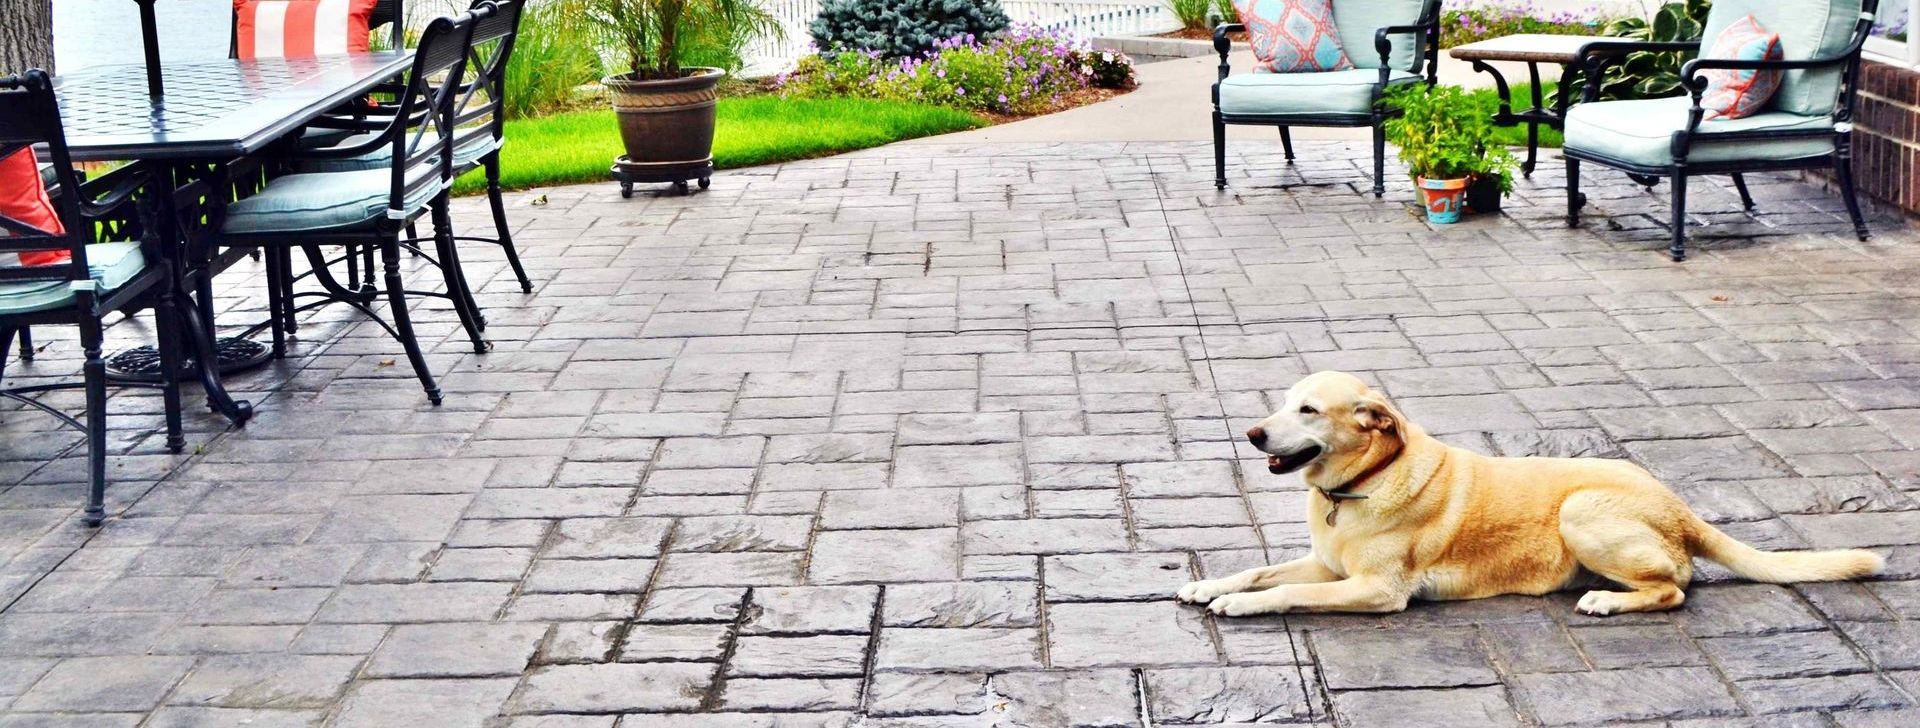
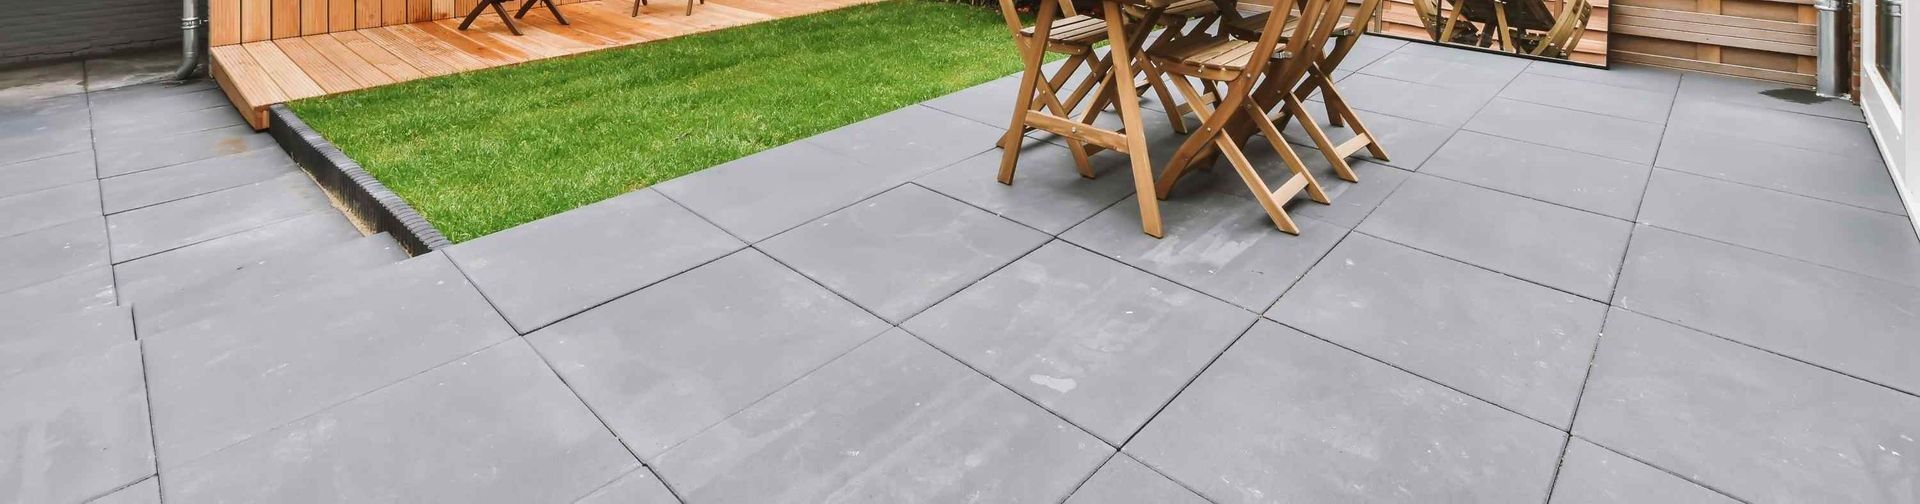
Step 10: Enjoy Your Patio
With construction complete, it's time to personalize your new space. Consider the layout and design of furniture, planters, and any decorative elements that reflect your style. Proper maintenance, like sealing the concrete and regular cleaning, is key. Doing this will ensure your patio remains a cherished part of your home for years.
By following these detailed steps, you're well on your way to creating a beautiful, functional concrete patio. Remember, patience and attention to detail at each stage of the process will result in a high-quality outdoor space. This space will enhance your home and landscape. If you have questions about your patio or don't feel like DIY is for you contact
Expert Concrete Abilene!
You might also like